BREATHE EASY
A Simple, Cheap Fume Extraction Setup

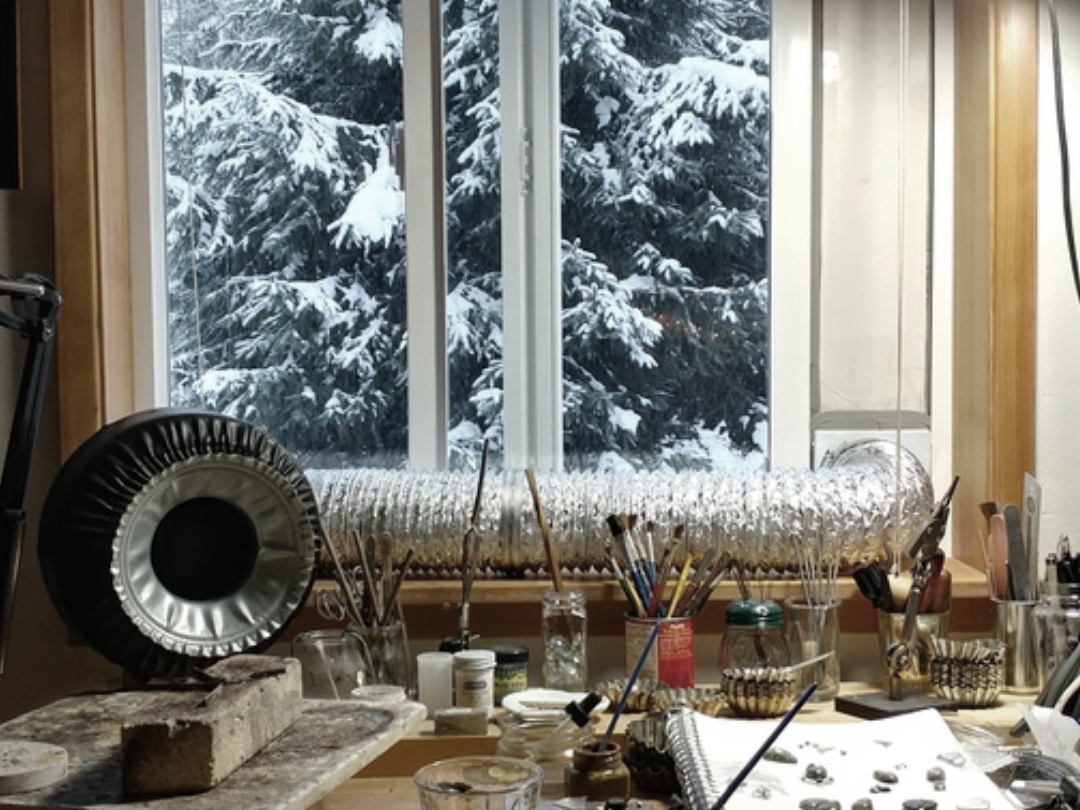
A jeweler's bench scattered with tools and a soldering fume ventilation system in the background

In my previous studio, I needed a non-permanent and inexpensive solution to vent solder fumes to the outside. My space was a rental so I couldn’t create something permanent or drill any holes through the walls or alter the window. I also didn’t want to block any incoming light. After much thought, a lot of Googling, and some trial and error, I came up with a very simple, effective, and cheap DIY solution!

My jewelry soldering ventilation system consisted of a couple pieces of foam core board, some packing tape, self-adhesive foam window insulation, a louvered dryer vent, dryer hose, hose clamps, and an inline duct fan.

The window was a horizontal sliding window. I set the square dryer vent on the window frame opening. Then, I marked and cut the foam core to size: the width being the width of the dryer vent, the height from the top of the dryer vent to the top of the inside window frame. I cut a couple of pieces of foam core board and taped them together to give them more rigidity. Then, I covered it completely in packing tape to prevent the outside from getting wet during rain and snow.

I surrounded the outer edges of the foam core board with the self-adhesive foam window insulation. I also wrapped the edges of the dryer vent with the same foam insulation. I used the hose clamps to attach the dryer hose to the dryer vent and the inline fan.

When I was ready to use the system I would place the dryer vent onto the window frame, place the foam core board on top of that, then slide shut the window to butt up against it all.

That was it!

It was super cheap to make. I bought the foam core board at the dollar store. The foam window insulation, dryer vent, dryer hose, and hose clamps were all from my local big box hardware store. I purchased the Vivosun Z4 4-Inch 203 CFM Inline Duct Fan from Amazon. I already had a case of packing tape on hand so I had plenty to work with.

It kept out water, wind, drafts, and insects! It also didn’t block much light. It was easily removed and replaced. At the end of the day, I would take out the foam core and set it next to my jeweler’s bench. I would then collapse the dryer hose with the vent still attached and leave it on the window sill. I’d close and lock the window. I could rest easy and sleep well knowing that my studio was secure at night!

It’s not easy finding a fume extraction system on a budget especially when every studio space is so unique. I want to help other jeweler’s keep their studio and lungs free from harmful toxic soldering fumes so I’m sharing my do-it-yourself solution! It served me well and I hope it helps you, too! Or, at least I hope it helps you dream up a solution of your own!

Next up, I’ll be sharing my DIY solution for a casement window soldering fume extraction system! This was more complex to build and a bit more expensive, but a really elegant solution that I’m using in the new Twilight Luxe studio. I’m excited to share it with you, and will link it here once I’ve written up the detailed tutorial!

HOPE WAS BUILT BY HAND
How Handcrafted Jewelry is Created

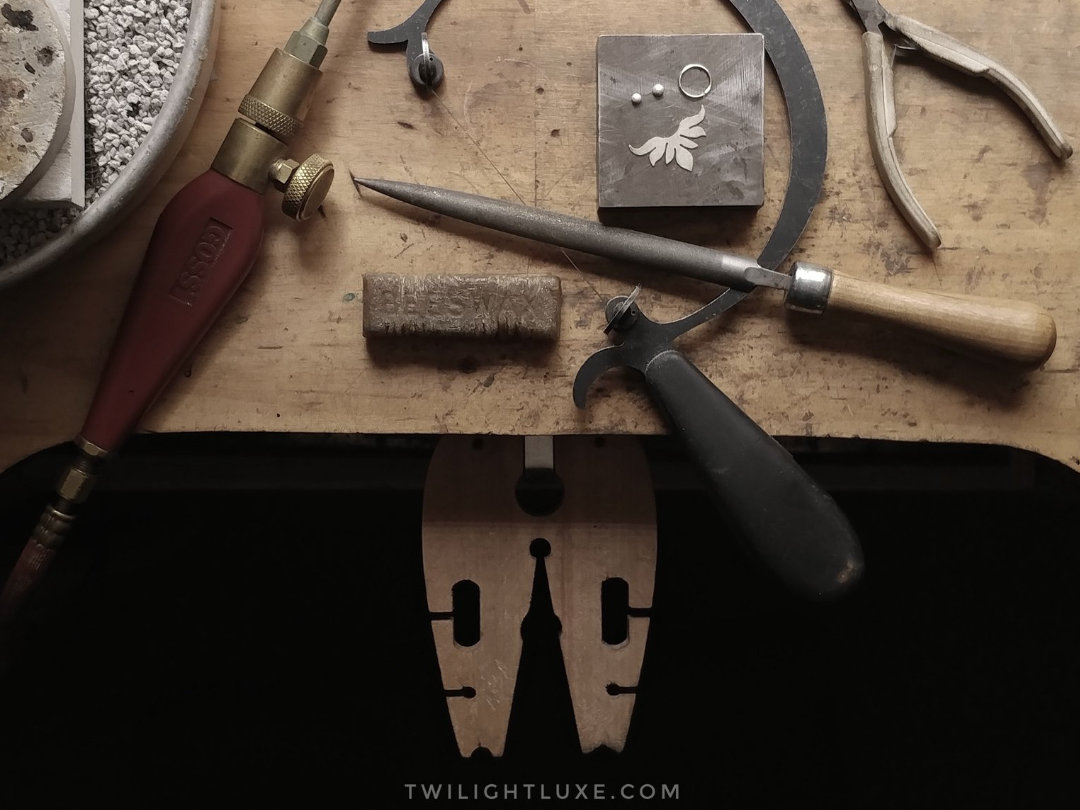
Overhead image of jeweler's bench with assorted hand tools

This journal entry is from a social media post I made on May 20, 2020 prior to the release of the Hope Collection. It gives a little insight to how I work and how a piece is created. I hope you enjoy learning what goes into creating handmade jewelry.

My work starts with metal sheet and wire.
I use simple hand tools.

Saws, files, hammers, punches, a couple of torches, and an ever-growing selection of pliers, to name a few!

Each heart and aralia leaf is carefully pierced and sawed from sheet using a hand saw and minuscule saw blades.

An array of files in different cuts and sizes are used to attentively shape, refine, and remove sharp edges. Then, further refinement occurs with sand paper and sanding sticks.

Hammers, punches, blocks, a sandbag, and a bit of muscle aid in forming the three dimensional hearts.

Gemstone settings are built, formed, and fitted for each individual stone because no two are ever exactly alike.

Texturing occurs through hammering, etching, and layering of elements.

Silver is torched on a charcoal block until it’s molten to create balls in an array of sizes.

Soldering—with a bit of flux, fire, and meticulous staging—is the magic that makes it all stick together. Most pieces usually go under the torch several times before completion.

Wire is coiled around a mandrel then sawed open to form every jump ring which then gets individually soldered closed.

Wire is cut to length, hammered, filed, and shaped with pliers to create necklace clasps one by one.

A flex shaft—the only power tool I use—is invaluable and aids in drilling, polishing, cutting seats for gemstones, and other tasks which would otherwise be tedious, time consuming, and difficult by hand although not impossible!

Patina is added and then selectively removed to create richness and depth.

Stones get cautiously set using a bezel pusher or burnisher to bend the metal over the stone to hold it securely in place.

And, finally, after countless steps to get to this point, there’s that one last polish and bit of adjusting to make everything just so before it’s declared complete.

While I often lust after jewelry tools they are quite expensive and I have to justify a real need before I plunk down big bucks for one. And, if I finally do make the purchase it makes me appreciate that new tool more than I otherwise would have having previously done it all by hand!

I remind myself time and again that ancient jewelry was created using crude and simple tools and if they can do it so can I. It may take a little longer, but it connects me to my work in a way that machines can’t.

As I create a piece I get to know each one individually—every curve, every solder join, every quirk, and every bit of blood, sweat, and sometimes tears, that went into creating it… each piece built by hand, hope, and heart!

THE FINISH LINE IS IN SIGHT!

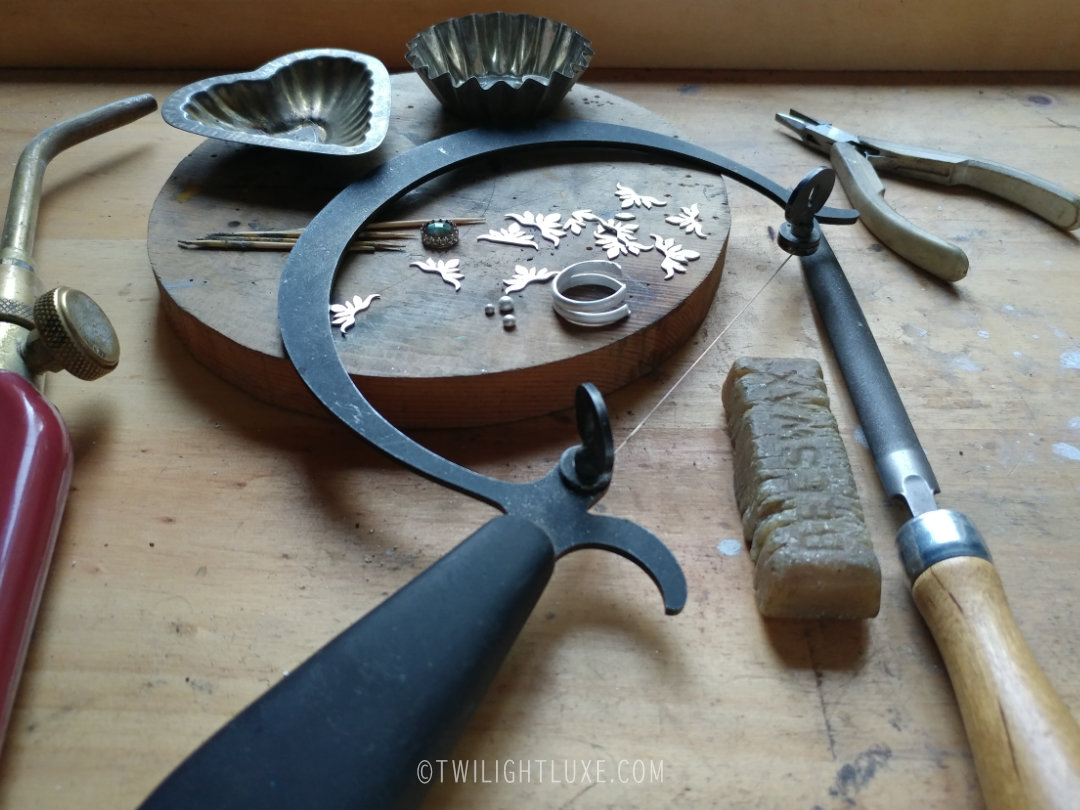
Still life of jeweler's hand tools and jewelry parts

As I sit here, pondering the very last steps before launching the web site, wondering what other little things I’ve left to do, I’m almost in disbelief!

I can’t believe I’m almost to the finish line!

This web site has been months in the making. I poured my heart and soul into it. There were days when I was tired, overwhelmed, frustrated, and wanted to walk away!

More than anything, I wanted to get back to the bench to create jewelry instead of creating a web site, but I knew I had to persevere!

Yet, I had custom orders waiting in the wings and making my customers happy took priority. So, I put the web site on hold once again and took a break to work on customs and that was okay because it meant I’d get to feed my creative soul for a little while. Then, the holidays rolled through and my schedule and focus became erratic. Finally, when the calendar turned over to 2019 and the custom orders were out the door I set down the torch and sat behind the keyboard once again. I actually love working on the web site, but it was a daunting task with a very long list of steps to complete!

In the final weeks, as I got closer and closer to the finish line, my mantra became “Discipline over Motivation.” I was determined to get the job done. It was nose to the grindstone and nothing was going to stop me!

But, when you’re a one woman show and doing everything yourself it ends up taking much longer than anticipated. There were roadblocks, obstacles, and speed bumps that kept slowing my progress. I kept pushing the date out further and further because I wasn’t willing to compromise and launch a site I wasn’t proud of.

I am now days away from launching and Mother Nature is throwing one more wrench in the works! In the coming days, a major snow storm—the biggest in over a decade—is forecast for the Pacific Northwest. It’s unusual and the predictions call for heavy snowfall, frigid temperatures, and power outages.

Twilight Luxe | Handcrafted Sterling Silver Jewelry | Snowstorm 2019

I can’t risk launching the web site only to experience a power outage in the first few days! It’s a high probability in the rural area where I live. So, once again, I’m pushing the launch back a few more days. However, that means I can polish the edges and add a little bit more patina, a luxury I can now afford since the finish line is in sight.

ENDING AND BEGINNINGS

Blue sky and mountain emerging through the fog in the Cascade Mountains in Washington State

Not all endings are sad.

I officially closed my old business to the public on May 11, 2018. There was much to do to finalize the closing and many loose ends to tidy up so I didn’t have time to think about the end of something that consumed my life for 12 years. While I was almost finished finalizing all the paperwork and closing accounts, I wanted to drop the ball on other things that didn’t seem to matter, but leaving loose ends is never a good thing. So, I continued on, but I was dragging my feet.

Meanwhile, I earnestly started working on the Twilight Luxe web site. That is, until I hit a few roadblocks. I needed a break. My head was spinning with information, code, and decisions. I had to walk away for a bit to clear my head.

And, walk I did!

For the first time in 12 years I had weekends free! No vending and no commitments! On May 14, I headed out for a beach walk. The next day I walked in the mountains. I walked, trekked, and hiked as much as possible this summer. It was an activity that was put on the back burner over the years, but one I had been fiercely craving.

While I should have been ramping up Twilight Luxe as fast as possible, freedom was calling my name. I wanted to drink in every minute of the warm summer sunshine and the outdoor opportunities it brings. I was planning more hikes, gatherings with friends and family, and finally topping it off with a two-week river trip on the Green and Colorado Rivers in Canyonlands.

Soon, the grey skies and rain of a Puget Sound winter will arrive and it will be the perfect time to be indoors tinkering away on the web site.

While some people may see closing a chapter in their life as sad, I saw it as opportunity for rekindling my love affair with the outdoors and a building a sparkling new web site and a new future as a metalsmith!

SAW. SOLDER. FILE. POLISH.

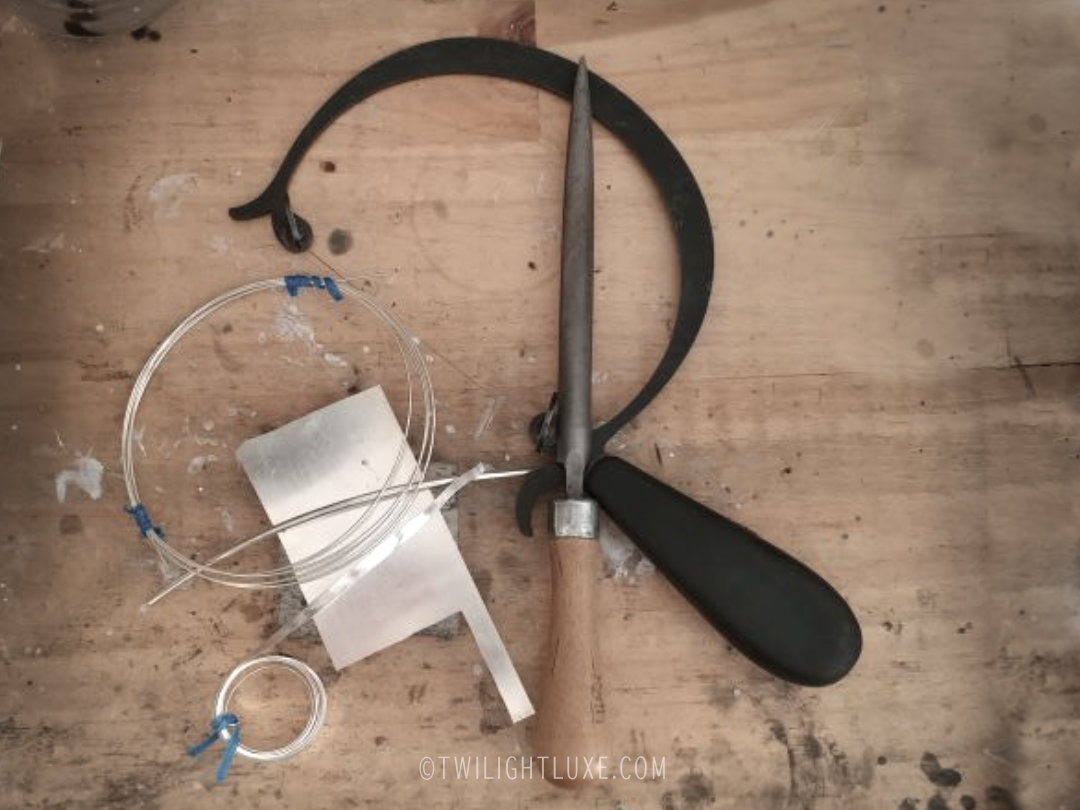
Jeweler's hand tools and metal

Saw. Solder. File. Polish.

Those four simple words.

Every metalsmith knows them.

They are all processes needed to fabricate a piece of jewelry.

When creating anything there are processes and steps to take.

The same goes for fabricating a web site.
Design. Layout. Code. Publish.

Learning a new skill requires research, trial and error, and lots of confusing information and technicalities. But, there's also the fun stuff like pretty colors and images that make it look beautiful!

As an artist, I love creating beautiful things. I want to dive right in and make it pretty! However, first I need to pay attention to the underlying form and structure or it won't hold up! The same holds true whether you're building a house, a web site, or a ring.

And, then there are the phases it goes through... concept, form, chaos, function... and, finally, a beautiful product.

With some trial and error, a few new skills, and technology in hand I built this web site and put the final polish on it all by myself! It's almost as much fun as fabricating a ring by hand! Almost!

Welcome to my new home!
I hope you love it here!